自作クラスをジョブスケジューラに登録する
最終更新日: 2020年3月14日
R8 | R9
顧客モデルを対象とした「顧客登録ジョブ」を用意してみます。次の手順となります。
例として、CreateCustomerJob.xml を作成します。次の内容とします。
ジョブクラスは、Wagbyのジョブスケジューラから呼び出されます。
ここでは上記で示した CreateCustomerJob.java クラスを用意します。
このコードに示したように、バッチ処理の本体は CreateCustomerTask というクラスに記述します。ジョブクラスは入れ物であり、ジョブパラメータを受け取ることができるようになっています。このパラメータをタスククラスへの引数とし、実際の処理をタスククラスに委譲します。
バッチ処理の本体です。CreateCustomerTask.java とします。
タスククラスは@Autowiredアノテーションを利用して(自動生成された)ヘルパやサービスクラスを再利用しています。これによってSQLを書かずに業務処理を実現しています。
以下のファイルを customize/webapp/WEB-INF/applicationContext/customer-ex.xml として保存します。(ファイル名は自動生成されたファイルと重複しないのであれば自由です。)
ここではCreateCustomerTaskをbean定義として用意します。また、CreateCustomerジョブを定義し、CreateCustomerTaskとひも付けます。
追加したファイルは次のとおりです。
このファイルをダウンロードできます。インストールフォルダ直下に展開してください。
システム管理者でログオンします。「管理者ガイド(R8) > 準備:ジョブ実行アカウントを利用可能にする」の説明に従って、ジョブ実行アカウントを利用可能にします。
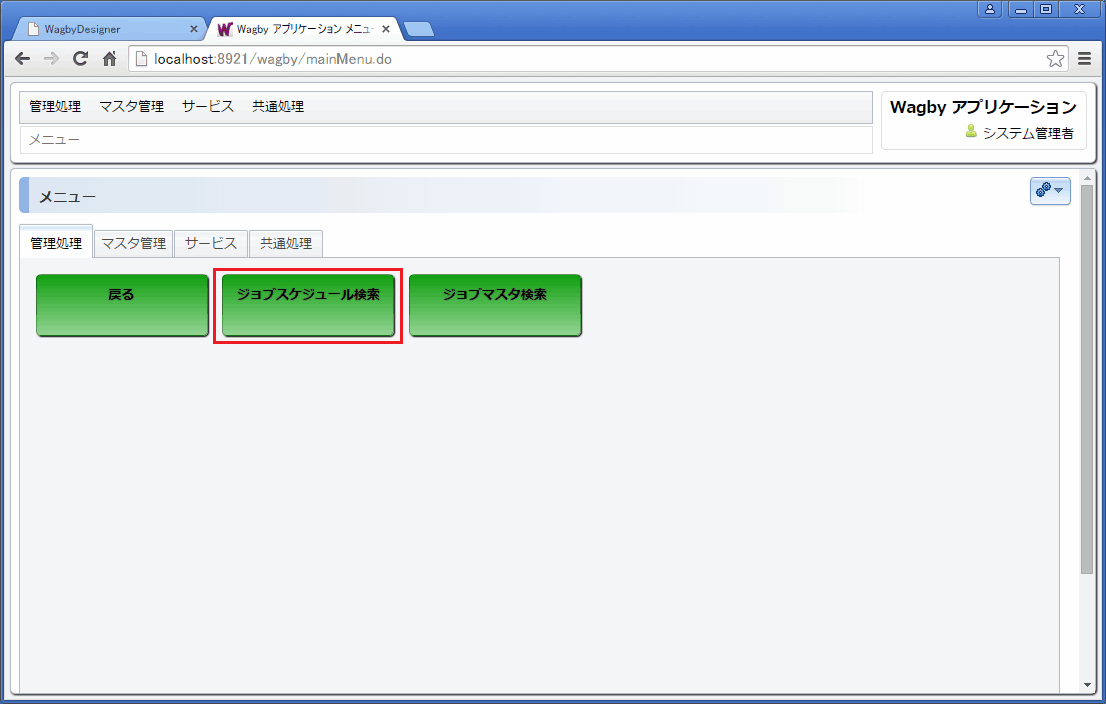
管理処理タブの「ジョブ管理...」を選択します。
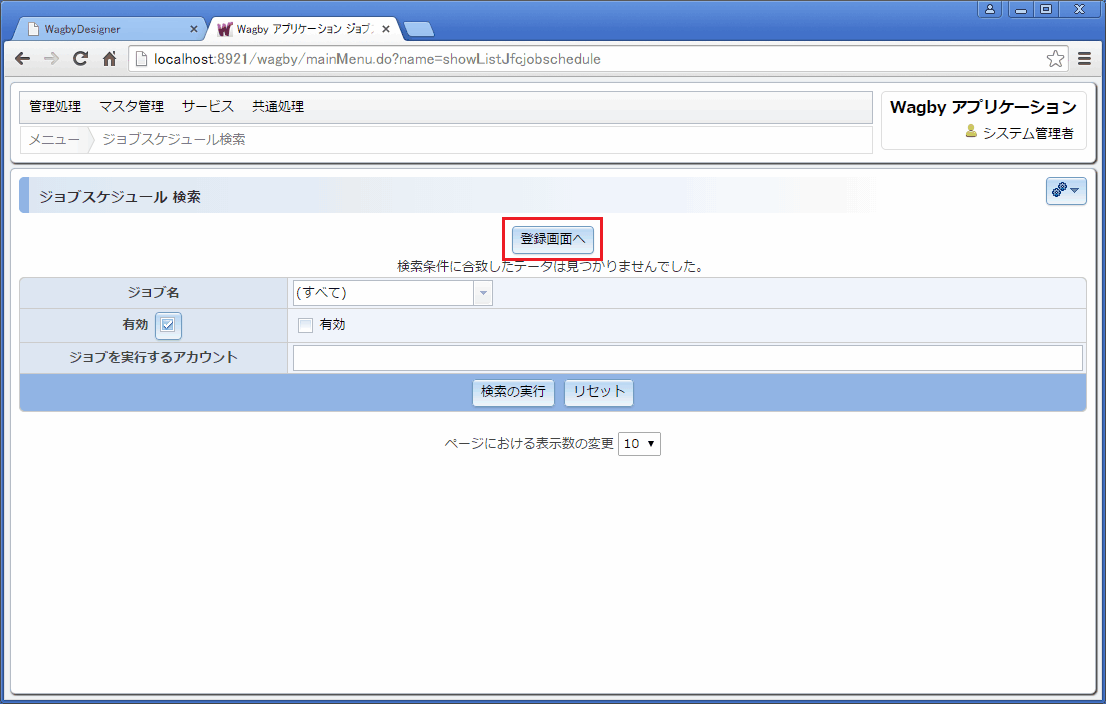
「ジョブスケジュール検索」画面を開きます。
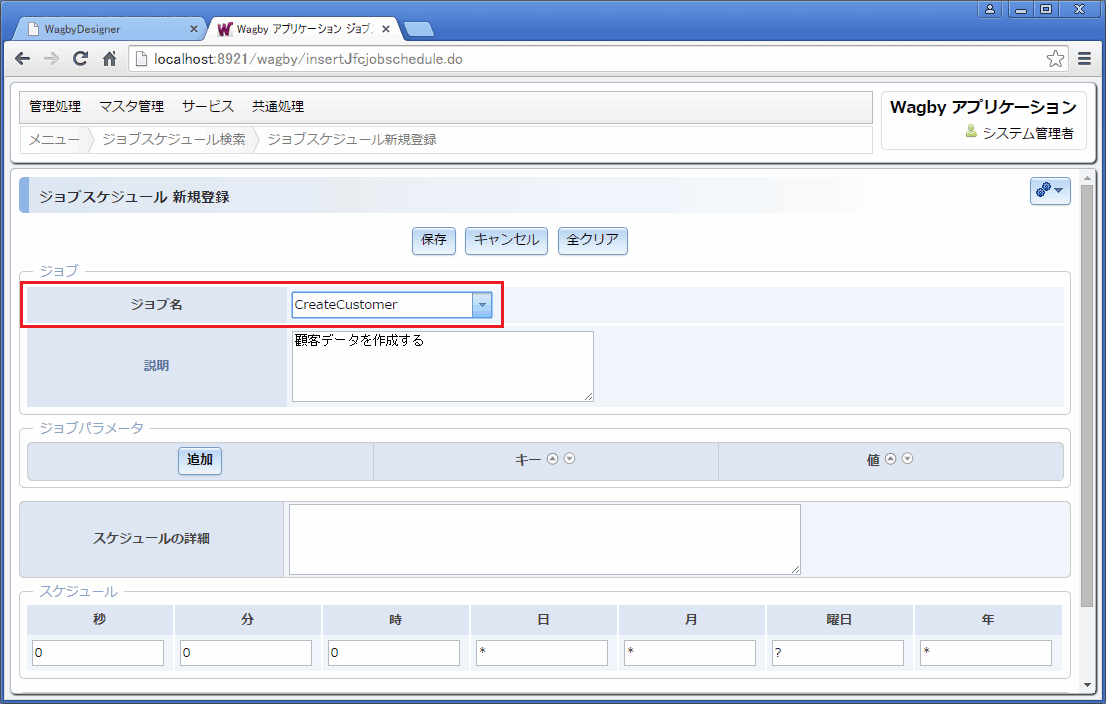
ジョブスケジュールの新規登録画面を開きます。
作成したジョブを選択します。
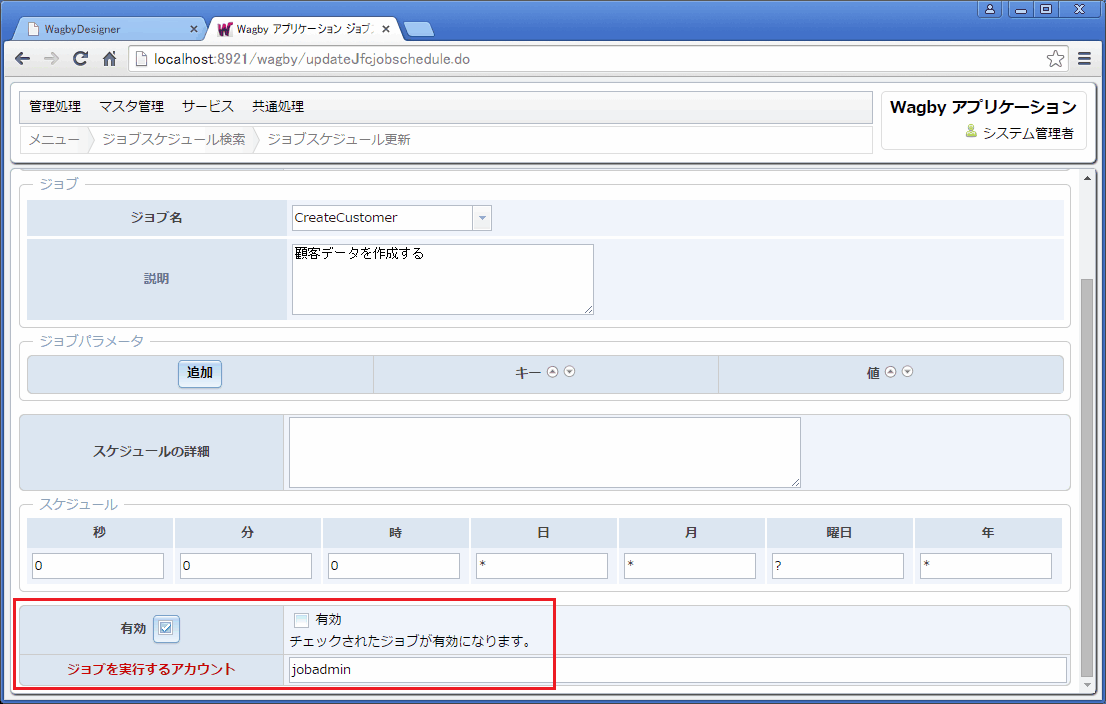
ジョブ実行アカウントを指定します。この段階では、ジョブは有効にしません。
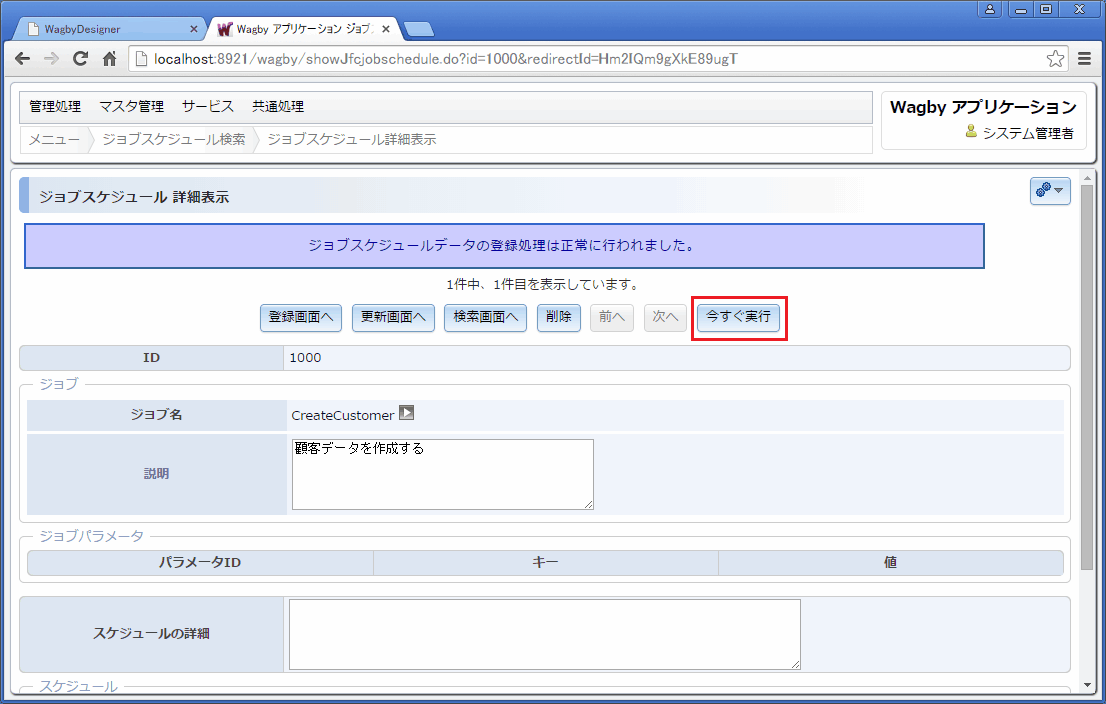
「今すぐ実行」ボタンを押下し、このジョブを実行させてみます。
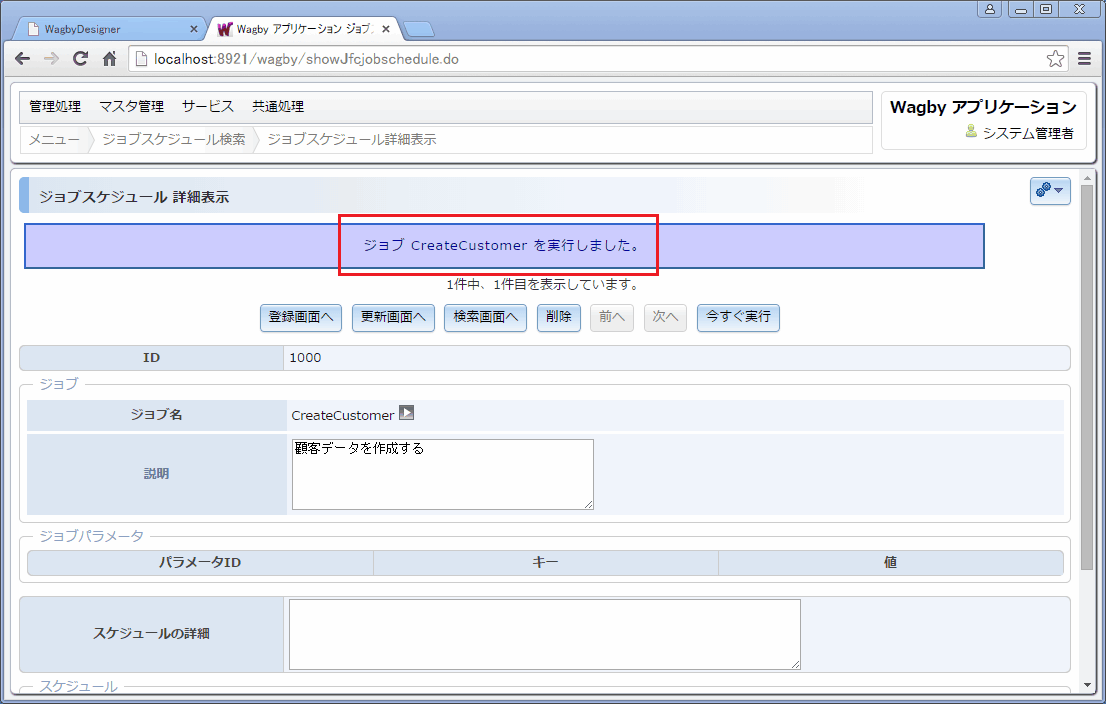
ジョブが実行されます。wagbyapp/logs/system.logに、ジョブに関するメッセージが記録されます。
「ジョブパラメータ」を追加し、これをジョブクラスが受け取ることができます。
受け取る側のソースコードは次のように記述できます。
4行目のimport文を追加しています。ジョブパラメータは org.quartz.JobDataMap クラスが管理します。
ジョブクラスの登録方法
<?xml version="1.0" encoding="UTF-8"?>
<jfcjob createApplicationContext="false">
  <name>CreateCustomer</name>
  <memo>CreateCustomer</memo>
  <classname>jp.jasminesoft.wagby.job.CreateCustomerJob</classname>
  <description>顧客データを作成する</description>
</jfcjob>
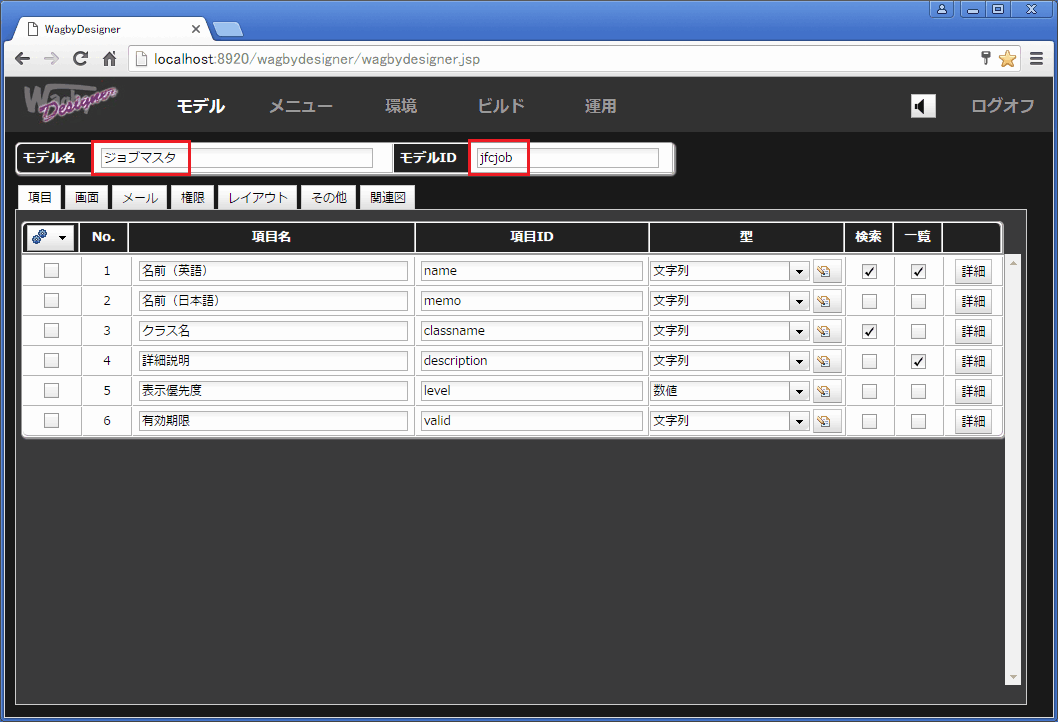
例1 顧客登録を行うジョブクラスの作成
ジョブクラス
package jp.jasminesoft.wagby.job;
import org.apache.log4j.Logger;
import org.quartz.JobExecutionContext;
import org.quartz.JobExecutionException;
import jp.jasminesoft.jfc.ActionParameter;
import jp.jasminesoft.jfc.job.JFCBaseJobBean;
public class CreateCustomerJob extends JFCBaseJobBean {
    private final static Logger logger =
        Logger.getLogger(CreateCustomerJob.class.getName());
    private CreateCustomerTask createCustomerTask;
    public void setCreateCustomerTask(CreateCustomerTask createCustomerTask) {
        this.createCustomerTask = createCustomerTask;
    }
    @Override
    protected String executeInternal0(JobExecutionContext jobContext,
        ActionParameter p) throws JobExecutionException {
        return createCustomerTask.process(p);
    }
}
タスククラス
package jp.jasminesoft.wagby.job;
import jp.jasminesoft.jfc.ActionParameter;
import jp.jasminesoft.jfc.app.EntityHelper;
import jp.jasminesoft.jfc.service.JFCEntityService;
import jp.jasminesoft.wagby.model.customer.*;
import jp.jasminesoft.wagby.app.customer.*;
import org.apache.log4j.Logger;
import org.springframework.beans.factory.annotation.Autowired;
import org.springframework.beans.factory.annotation.Qualifier;
public class CreateCustomerTask {
    private final static Logger logger =
        Logger.getLogger(CreateCustomerTask.class.getName());
    @Autowired
    @Qualifier("CustomerHelper")
    protected EntityHelper<Customer, Integer> customerHelper;
    @Autowired
    @Qualifier("CustomerEntityService")
    protected JFCEntityService<Customer, Integer> customerEntityService;
    protected String process(ActionParameter p) {
        logger.info("顧客データ作成ジョブを開始しました。");
        for (int i = 0; i < 100; i++) {
            Customer customer = new Customer();
            customerHelper.initialize(customer, p);
            customerEntityService.insert(customer);
            logger.info( i + "件の顧客データを登録しました。");
        }
        return "顧客データ作成ジョブを正常終了しました。";
    }
}
applicationContextへの登録
<?xml version="1.0" encoding="UTF-8"?>
<beans xmlns="http://www.springframework.org/schema/beans"
     xmlns:xsi="http://www.w3.org/2001/XMLSchema-instance"
     xmlns:context="http://www.springframework.org/schema/context"
     xsi:schemaLocation="http://www.springframework.org/schema/beans
      http://www.springframework.org/schema/beans/spring-beans.xsd
      http://www.springframework.org/schema/context
      http://www.springframework.org/schema/context/spring-context.xsd">
  <bean id="CreateCustomer" scope="prototype"
        class="org.springframework.scheduling.quartz.JobDetailFactoryBean">
    <property name="jobClass">
      <value>jp.jasminesoft.wagby.job.CreateCustomerJob</value>
    </property>
    <property name="jobDataAsMap">
      <map>
        <entry key="createCustomerTask" value-ref="CreateCustomerTask"/>
      </map>
    </property>
  </bean>
  <bean id="CreateCustomerTask" scope="prototype"
        class="jp.jasminesoft.wagby.job.CreateCustomerTask"/>
</beans>
ダウンロード
customize/java/jp/jasminesoft/wagby/job/CreateCustomerJob.java
customize/java/jp/jasminesoft/wagby/job/CreateCustomerTask.java
customize/webapp/WEB-INF/applicationContext/customer-ex.xml
customize/webapp/WEB-INF/export/init/jfcjob/CreateCustomerJob.xml
実行


例2 ジョブパラメータを受け取る

package jp.jasminesoft.wagby.job;
import org.apache.log4j.Logger;
import org.quartz.JobDataMap;// 追加
import org.quartz.JobExecutionContext;
import org.quartz.JobExecutionException;
import jp.jasminesoft.jfc.ActionParameter;
import jp.jasminesoft.jfc.job.JFCBaseJobBean;
public class CreateCustomerJob extends JFCBaseJobBean {
    private final static Logger logger =
        Logger.getLogger(CreateCustomerJob.class.getName());
    private CreateCustomerTask createCustomerTask;
    public void setCreateCustomerTask(CreateCustomerTask createCustomerTask) {
        this.createCustomerTask = createCustomerTask;
    }
    @Override
    protected String executeInternal0(JobExecutionContext jobContext,
ActionParameter p) throws JobExecutionException {
        JobDataMap dataMap = jobContext.getJobDetail().getJobDataMap();
        String args = (String)dataMap.get("process");
return createCustomerTask.process(p);
    }
}
24行目,25行目でパラメータを取得しています。図9の例では、キー"process"という名前で(画面から)登録されたパラメータを受け取っています。変数 args には文字列 "AAA" が格納されます。
ジョブスケジュールの指定方法